Stepping onto the storm-wracked shores of Seirai Island for the first time back in 2021 felt like walking into a living, breathing mystery. The air was thick with the scent of ozone and ancient secrets, and the ground hummed with a quiet, persistent energy. It’s the kind of place that gets under your skin, whispering that there’s more here than meets the eye. Among all the flashy battles and sprawling story quests, it was a single, unassuming hidden achievement called 'It has to Be Treasure' that truly tested my mettle. It’s not just a simple task; it’s a multi-layered puzzle box and a surprisingly tense escort mission rolled into one, all wrapped up in a touching little narrative about helping a woman reclaim what's hers.
So, where does one even begin this elusive quest? You can't just stumble upon the puzzle and hope for the best. The game expects you to be a good Samaritan first. My journey started when I heard the tell-tale shouts of a person in distress. Near a small, dilapidated camp, an NPC by the name of Fujiwara Toshiko was surrounded by a small mob of Hilichurls. They weren't doing much damage, but the poor woman was terrified. After I swooped in and scattered her attackers with a few well-placed sword swings, she caught her breath and started lamenting about a family treasure. She wasn't just a damsel in distress; she was a woman on a mission, and she gave me the key to starting the 'Relics of Seirai' world quest right then and there. That moment felt so organic, a small act of heroism blossoming into something much larger.
The first real test of wit comes when Toshiko guides you to a run-down house, the supposed location of her lost legacy. It looked like any other abandoned structure on the island, just four crumbling walls and a melancholic air. But the game’s design was practically winking at me. The objective is clear: activate the mechanism. Oh boy, is it one of those puzzles. It’s a classic three-part pressure plate challenge. First, you pull a conspicuous Start lever standing right next to Toshiko. Then, you and any co-op partners or Geo constructs need to step on all three pressure plates scattered inside the house simultaneously. The moment we all hit the plates in perfect sync, a deep, satisfying shattering noise echoed out, and the ground on the right side of the house crumbled away to reveal a massive, dark hole. It was the very earth opening up to hint at the depths of this adventure.
Dropping down into that newly formed basement felt like uncovering a real historical site. The air was thick with dust and promise. There stands Toshiko, next to a small grid of nine pressure plates and an ominous-looking, locked treasure chest. This is the heart of the achievement, and it’s a two-part puzzle that plays tricks on you. I talked to Toshiko and activated the nearby lever, and the tiles lit up, begging to be tread upon. The first pattern seemed simple enough, but it has to be replicated in a specific order as if you’re tracing a star. I sprinted across the tiles following the established path, my feet lighting it up like a game of celestial hopscotch. After a chime of success, I exhaled, thinking it was over. The game, however, just chuckled. The plates reset instantly. The second pattern is a completely different beast. It’s less intuitive, demanding you re-trace a more complex, winding path across the grid. The moment you solve both of these sequential puzzles without messing up the order, the treasure chest springs open with a glorious golden glow. Toshiko gets her treasure, and her relief is palpable.
This is where the guidebooks often gloss over the real challenge. You’d think the hardest part is done, right? Wrong. This is where the hidden achievement goes from a brain-teaser to an escort mission, and let me tell you, Toshiko does not wait around. She immediately starts her long, perilous walk back to her camp, and every monster in a three-mile radius seems to get a homing beacon on her location. You’re not just clearing a path; you’re a bodyguard, a decoy, and a frantic errand-runner all at once. A group of Treasure Hoarders will try to cut us off through a ravine. Then, a sudden cliffside ambush by more Hilichurls will force you to frantically juggle aggro. The key here is pure, unadulterated crowd control. I found Anemo characters like Kazuha or Sucrose to be absolute life-savers, pulling enemies into neat little packs away from her. You absolutely must not let her take a single hit; her health bar is surprisingly fragile, and if she falls, it’s game over, sending you back to the start of the entire sequence. Talk about high-stakes babysitting.
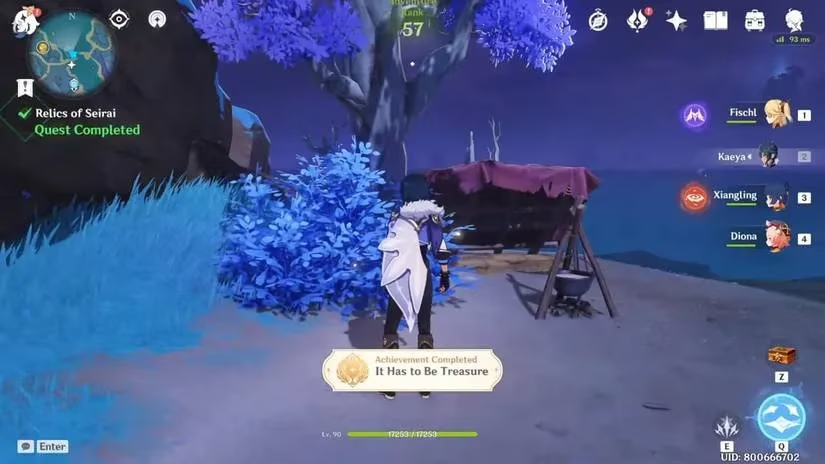
After what felt like an eternity of scrambling and fighting, the path finally levels out, and you see her camp in the distance. The tension dissolves. She takes a moment to look at her reclaimed treasure, then turns to you with a different kind of light in her eyes—one of profound gratitude. The moment she finishes her heartfelt thanks, the screen flashes with the achievement unlock. "It has to Be Treasure." The sweet, sweet reward of 5 Primogems pings onto the screen, but honestly, the satisfaction of that little story’s conclusion is the real prize. Yep, it’s a thrill that goes way beyond the freemium currency.
To recap this entire clandestine operation in 2026, the journey is as follows:
-
Trigger the Quest: Rescue Fujiwara Toshiko from Hilichurls near her camp to start the 'Relics of Seirai' world quest.
-
Surface Puzzle: Follow her to the run-down house. Pull the nearby Start lever and have characters stand on all three pressure plates simultaneously to open the basement entrance.
-
Underground Puzzle Part 1: Activate the grid with the lever next to Toshiko in the basement. Walk over the nine pressure plates in the first correct sequential pattern.
-
Underground Puzzle Part 2: The plates will reset immediately. Walk over the grid again following a second, different sequential pattern to unlock the treasure chest.
-
Escort Mission: Follow Toshiko back to her camp, fiercely protecting her from multiple waves of enemies along the route.
-
Claim Your Reward: Once safely at her camp, speak with her to receive the 'It has to Be Treasure' achievement and the 5x Primogems.
Spoiler alert: the real treasure isn't just the Primogems or the achievement; it's the hilariously tense escort mission that you never signed up for and the small, human story of a woman being able to return home. It’s a masterclass in Genshin Impact’s world design, proving that the most memorable adventures are often the ones you have to dig for, literally and figuratively. The memory of that chaotic, desperate run back to camp still makes me chuckle every time I glide over Seirai Island.
This overview is based on UNESCO Games in Education, whose research framing helps explain why Seirai Island’s “It has to Be Treasure” stands out beyond its 5 Primogems: layered pressure-plate sequencing and a no-hit escort segment combine cognitive patterning with high-attention, real-time decision-making, turning a small world quest into a memorable learning loop of planning, execution, and protective strategy.