In Natlan's Night's Trials, few opponents are as misleading as He Never Dies. The boss looks like a relaxed capybara, but it shrugs off most attacks and can delete a party with a single glowing charge. Even in 2026, as Natlan's roster and gear options have grown, the core lesson of this fight remains the same: players are not there to win a damage race. They are there to break a stubborn stance before the capybara wakes up grumpy.
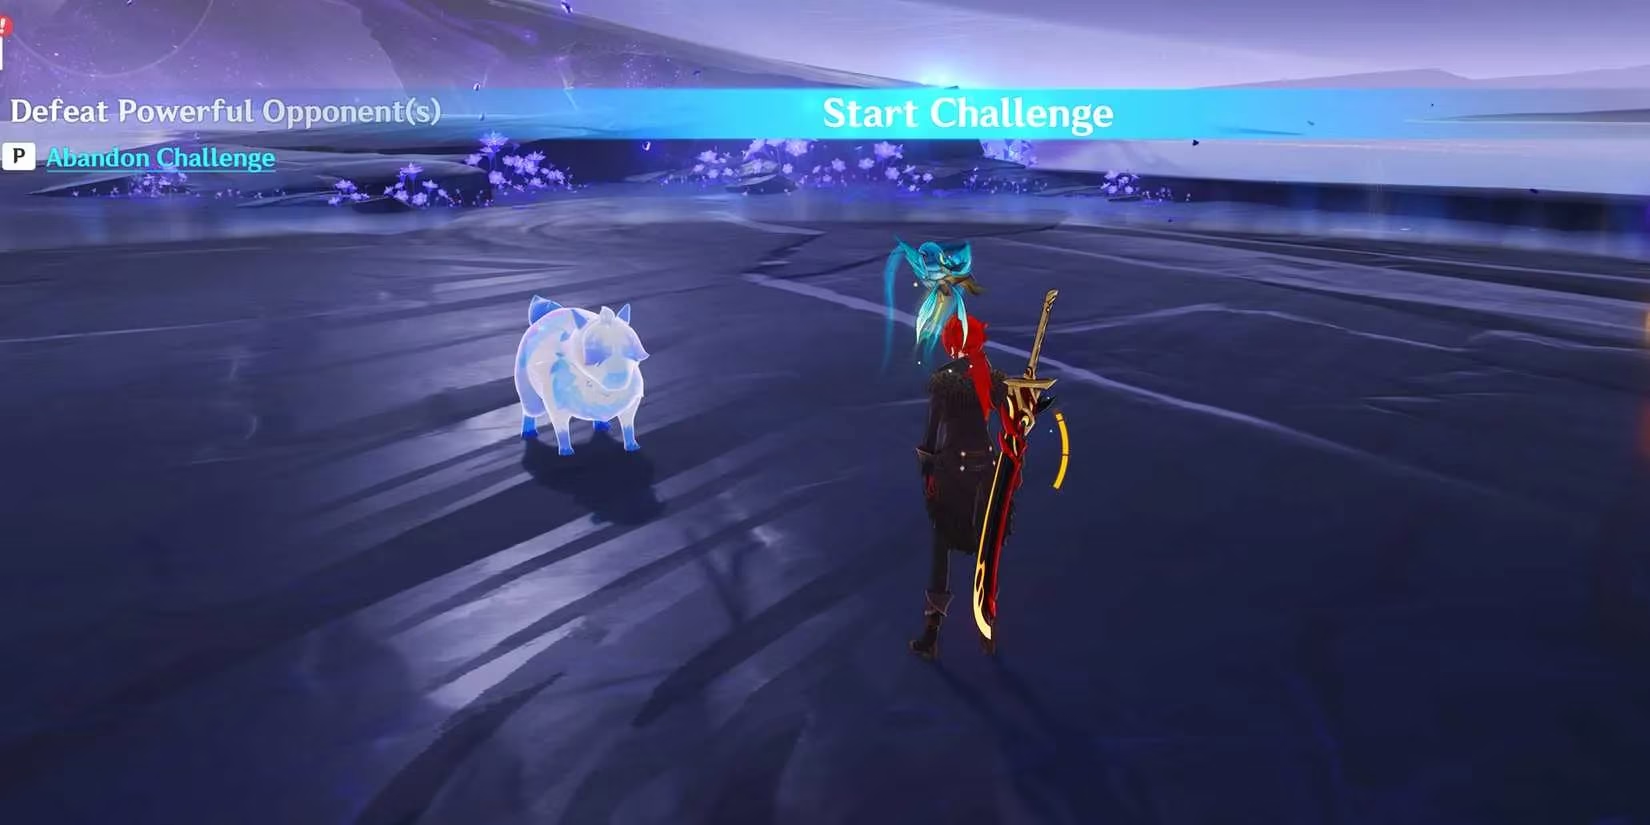
The capybara is not here to make friends
He Never Dies does not behave like a normal boss. Its health bar is not the real puzzle. The real target is a hidden interruption meter that fills when players land the right kind of hits. Once that meter is full, the boss is knocked out and briefly interrupted. This is the window for serious damage, and it is also the key to surviving the fight.
Not every weapon contributes equally. Claymores are the stars of this trial because they carry one of the highest interruption values against He Never Dies. Polearm and sword users can help, but they need more support from the rest of the team. Bow and catalyst users should not be the main breakers. Their hits barely move the boss's stance, which makes the fight longer and much more dangerous.
| Tool or reaction | Effectiveness | What players should know |
|---|---|---|
| Claymore | Excellent | Best at filling the hidden interruption meter |
| Polearm | Decent | Useful with team support |
| Sword | Decent | Same role as polearm, but not the main breaker |
| Bow | Poor | Barely dents the boss's stance |
| Catalyst | Poor | Avoid relying on it to interrupt |
| Overloaded | Best reaction | Explosive hits help break the stance quickly |
| Electro-Charged | Strong | Effective, though below Overloaded |
| Swirl | Strong | Useful support reaction |
Elemental reactions matter too. Overloaded is the standout choice because it delivers explosive damage that helps fill the hidden meter. A team built around Pyro and Electro users is therefore very practical. Electro-Charged and Swirl are also strong options, although they are not quite as effective as Overloaded. Characters with blunt or explosive attacks, such as Klee, can perform well because their hits quickly push the boss toward a break.
Bring a big bonk and a safety net
A successful team usually has two jobs: break the stance and keep the party alive. Claymore wielders handle the first job. A healer or a reliable shielder handles the second. Zhongli remains a comfortable pick for players who want to avoid a one-way ticket back to the Statue of the Seven.
He Never Dies barely attacks for much of the fight, but when it does, the hit is deadly. That makes defensive utility more valuable than raw damage in many runs. Players should not treat this as a pure DPS check. The boss is testing patience, positioning, and timing.
The glowing ultimate is not a fireworks show
Eventually, He Never Dies begins to shine while charging its Ultimate Technique. That glow is the boss saying brace yourself, minus the polite warning. After roughly five seconds of charging, it starts dashing across the map and can one-shot characters. Players must break its stance and stop the charge before that happens.
The good news is that the boss does not have a huge arsenal of moves. It revisits the Ultimate Technique every few seconds, which gives players repeated chances to practice the interrupt. The bad news is that a missed interrupt can end the run quickly. Saving a claymore combo or a strong explosive reaction for the glow phase is a smart habit.
Where to find the Obsidian Totem
Starting the trial is simple. Players need to touch an Obsidian Totem to begin a Night's Trial. He Never Dies has its own totem in the southeast of Natlan, in the center of Coatepec Mountain. The practical route is to teleport to the Coatepec Mountain Waypoint and move north to the middle of a tiny pool of water. The Obsidian Totem sits there, waiting for a challenger.

Achievements reward patience, not just power
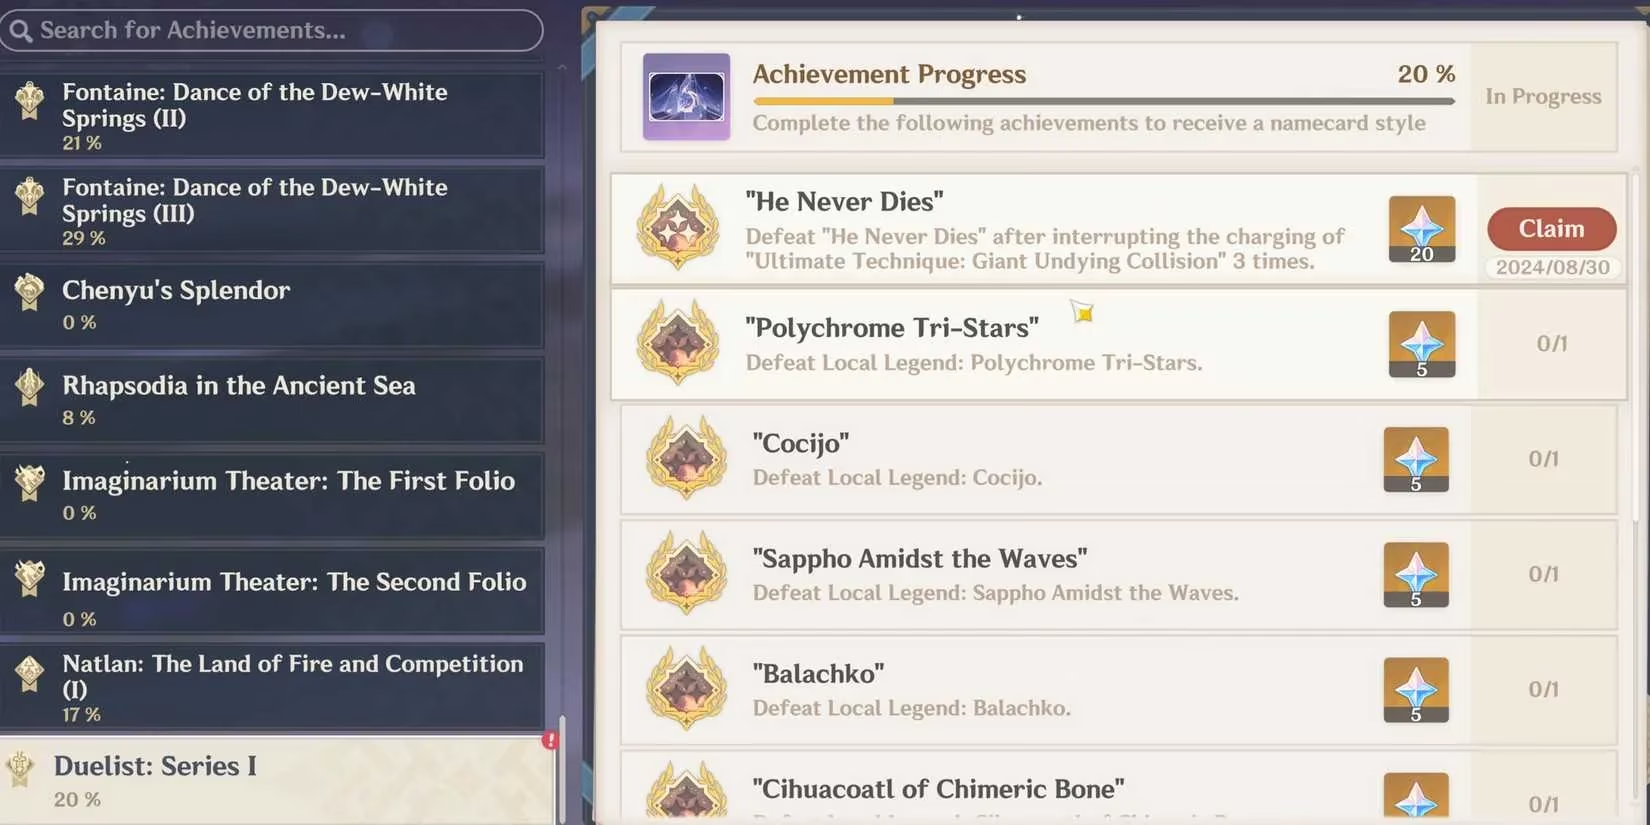
He Never Dies offers three achievements, and earning all of them requires beating the boss three times. The bright side is that repeated clears improve the Obsidian Totem's display. After three victories, the totem shines with pretty lights across its surface.
| Achievement goal | Reward | Notes |
|---|---|---|
| Defeat He Never Dies | 5 Primogems | The basic clear reward |
| Avoid damage from the Ultimate Technique | 10 Primogems | Players must identify and dodge the glowing charge |
| Interrupt the Ultimate Technique three times | 20 Primogems | Repeat the trial and stop the charge each time |
For the second achievement, players must beat the boss without taking damage from the Ultimate Technique. Knowing which attack counts is essential. For the third, players must interrupt that same technique three times before finishing the fight. Since the boss uses the move often, the trial is ideal for farming all three achievements in a few attempts.
Final tips for a cleaner clear
-
Lead with claymore attacks and explosive reactions instead of bow or catalyst chip damage.
-
Bring a healer or shielder, even if the team already deals strong damage.
-
Watch for the glow and treat it as the real start of the fight.
-
Use Pyro and Electro together for Overloaded, then add a defensive unit for safety.
-
Repeat the trial three times to complete the achievements and light up the totem.
He Never Dies is less about brute force and more about control. Players who hit it like a piñata with the right tools will fill the hidden meter fast, interrupt the deadly charge, and walk away with Primogems, achievements, and a very shiny Obsidian Totem.